3 STEP (0.4mm – 2.0mm) THIN WEDGE BLOCK (METRIC VERSION) ASME SA516 Gr70
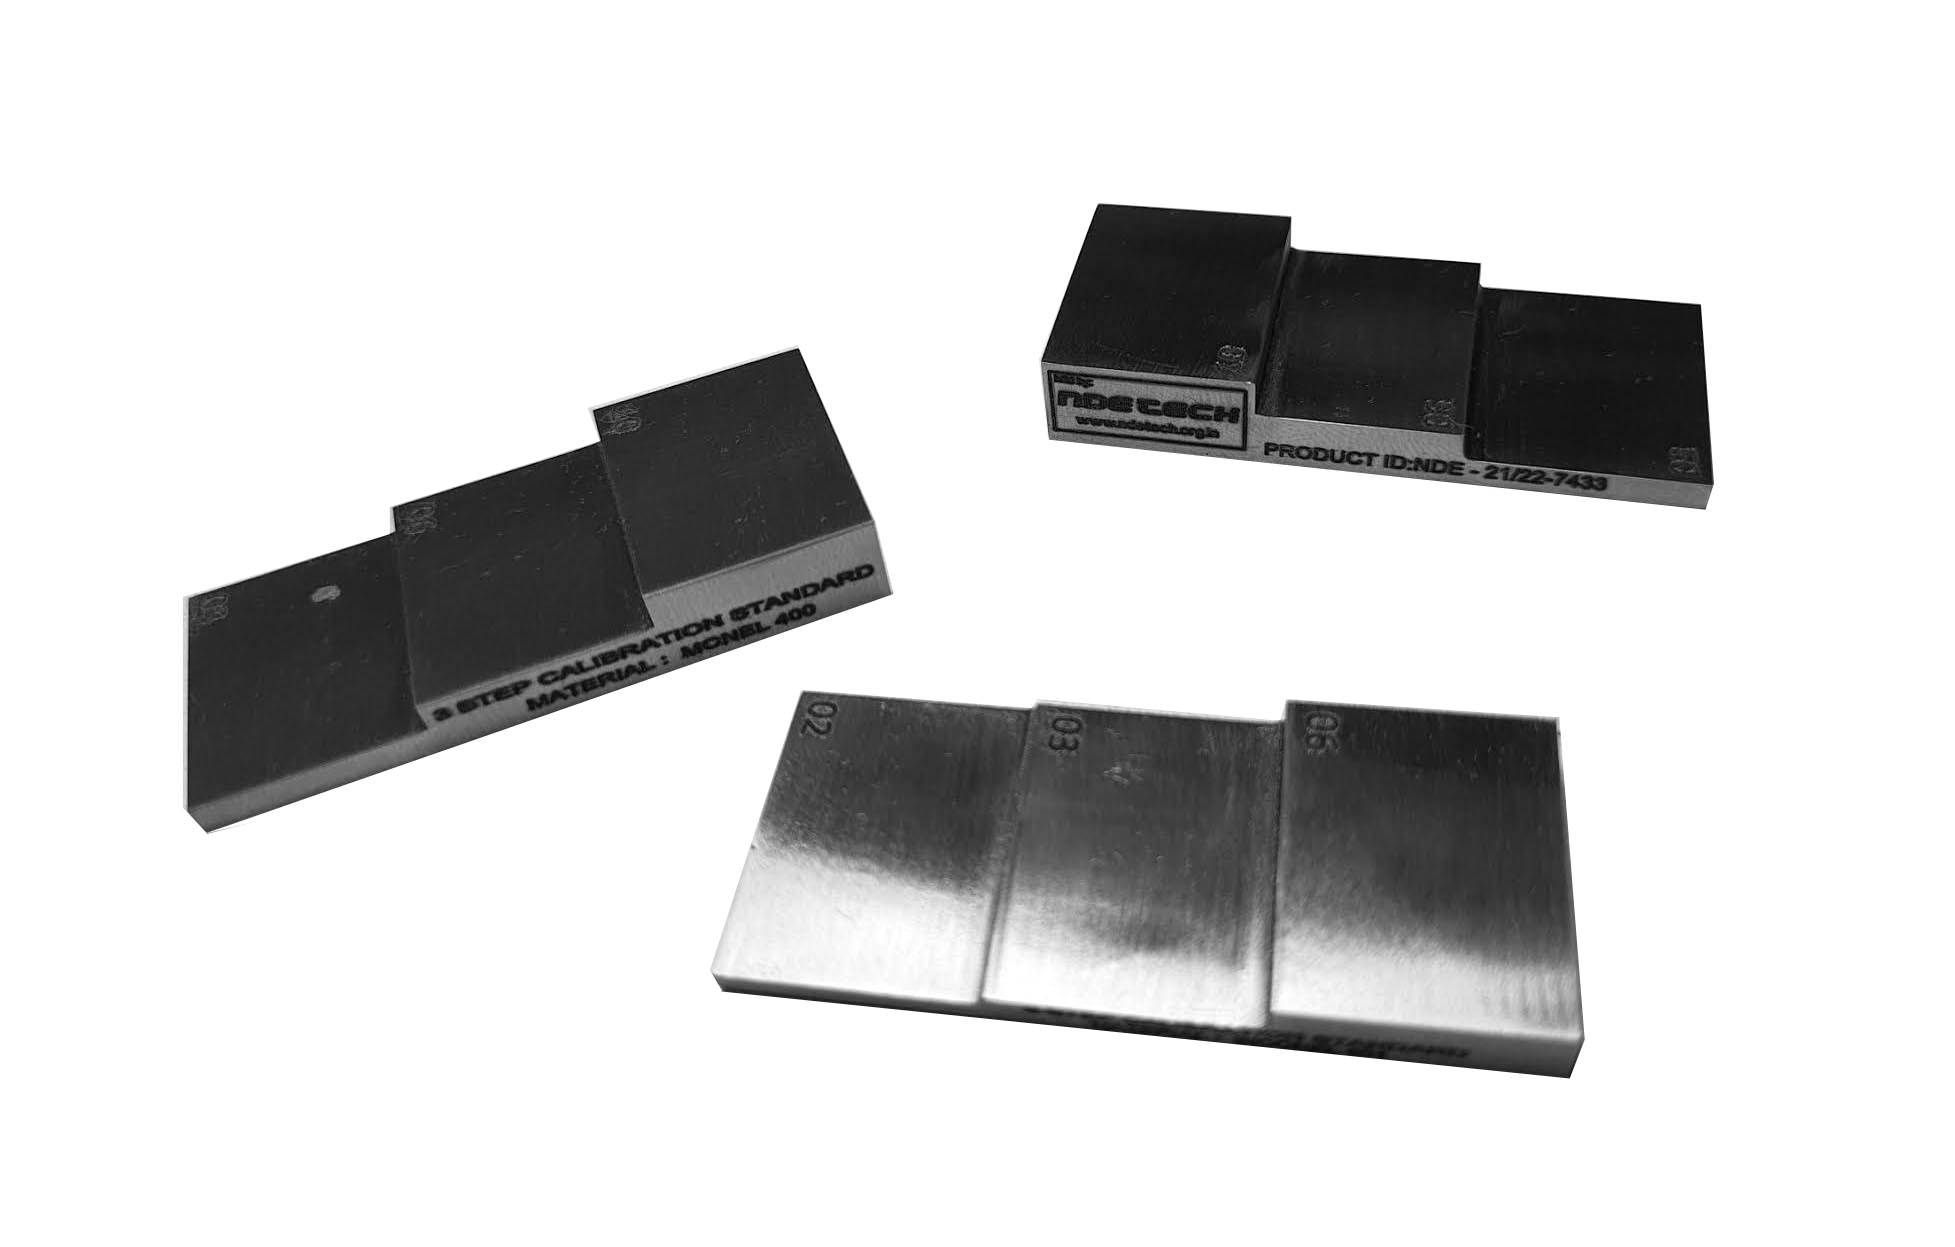
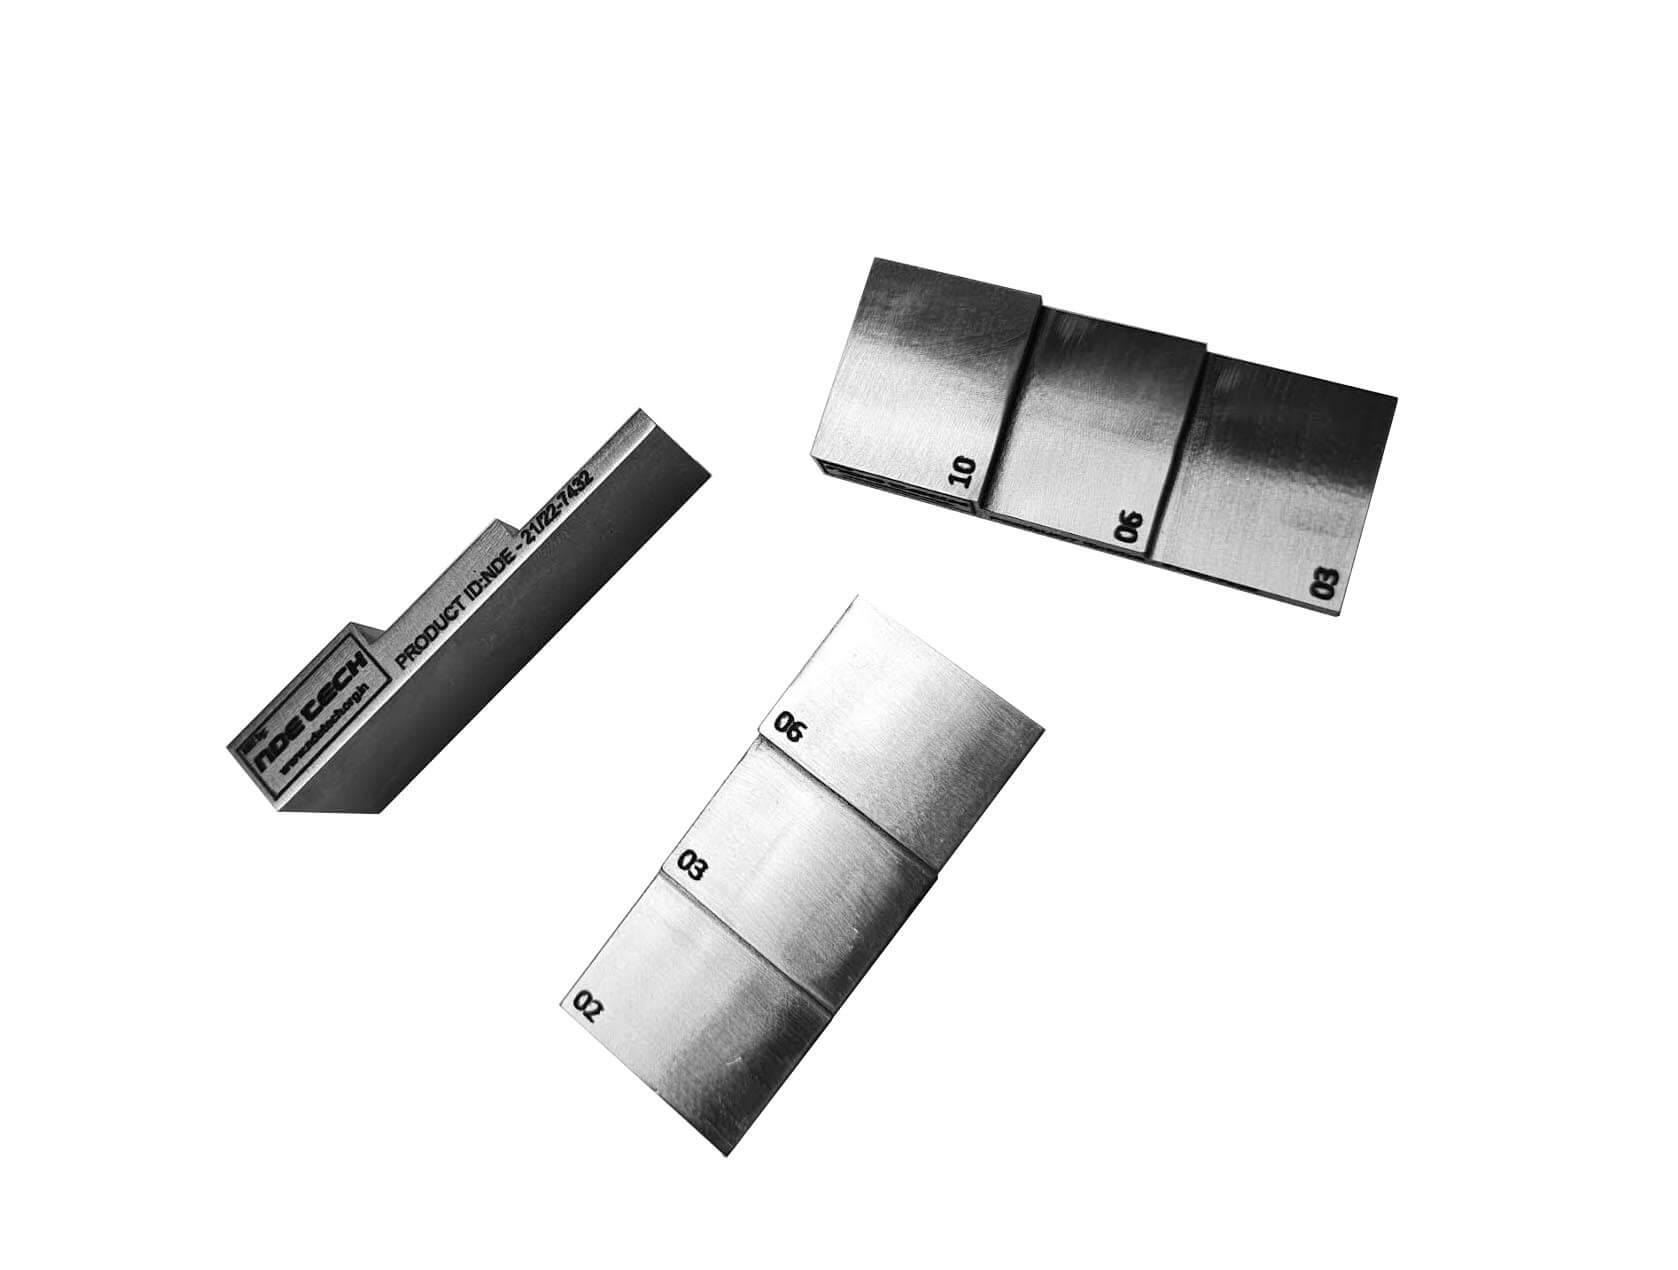
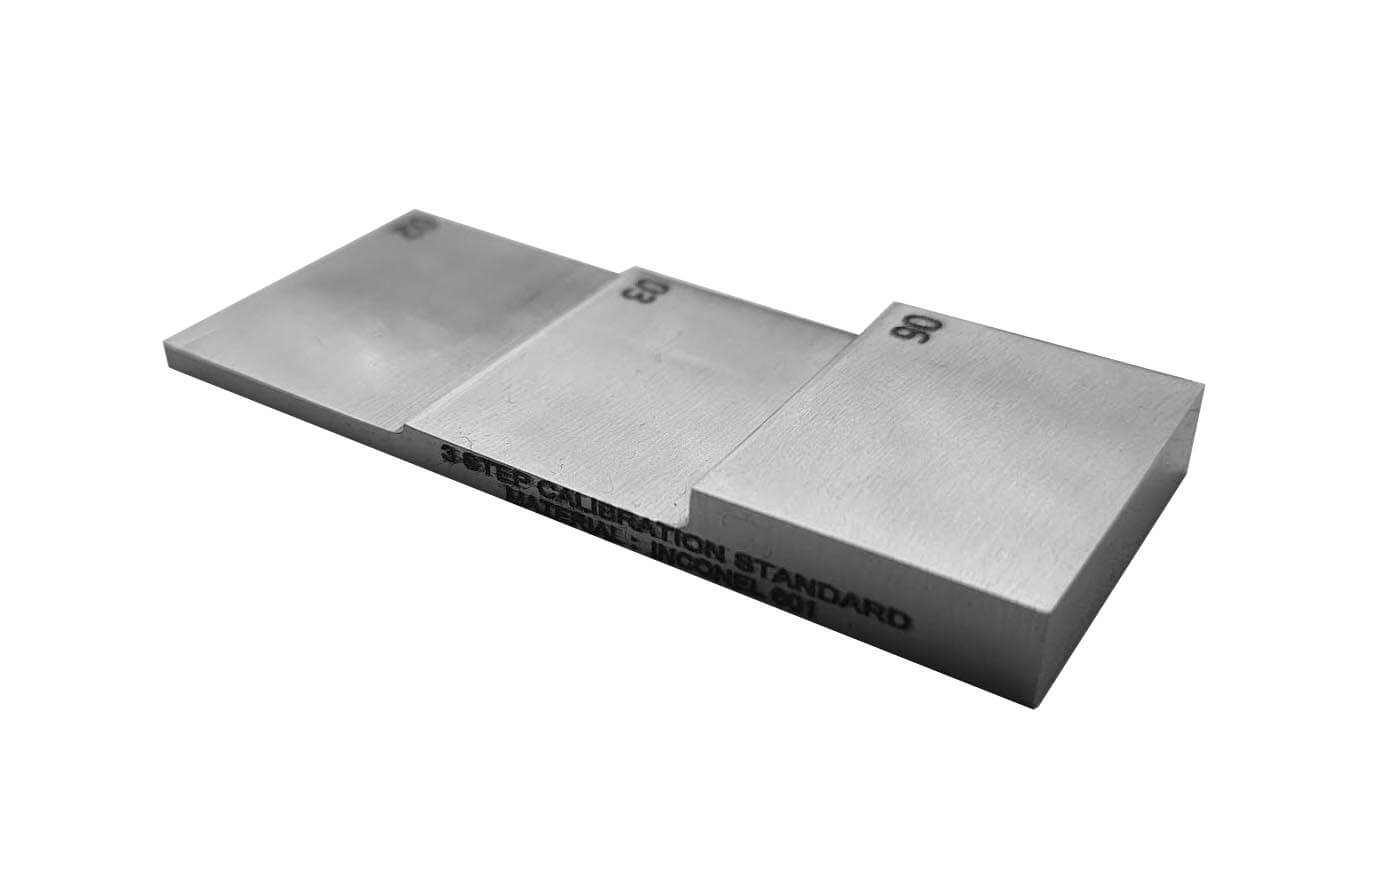
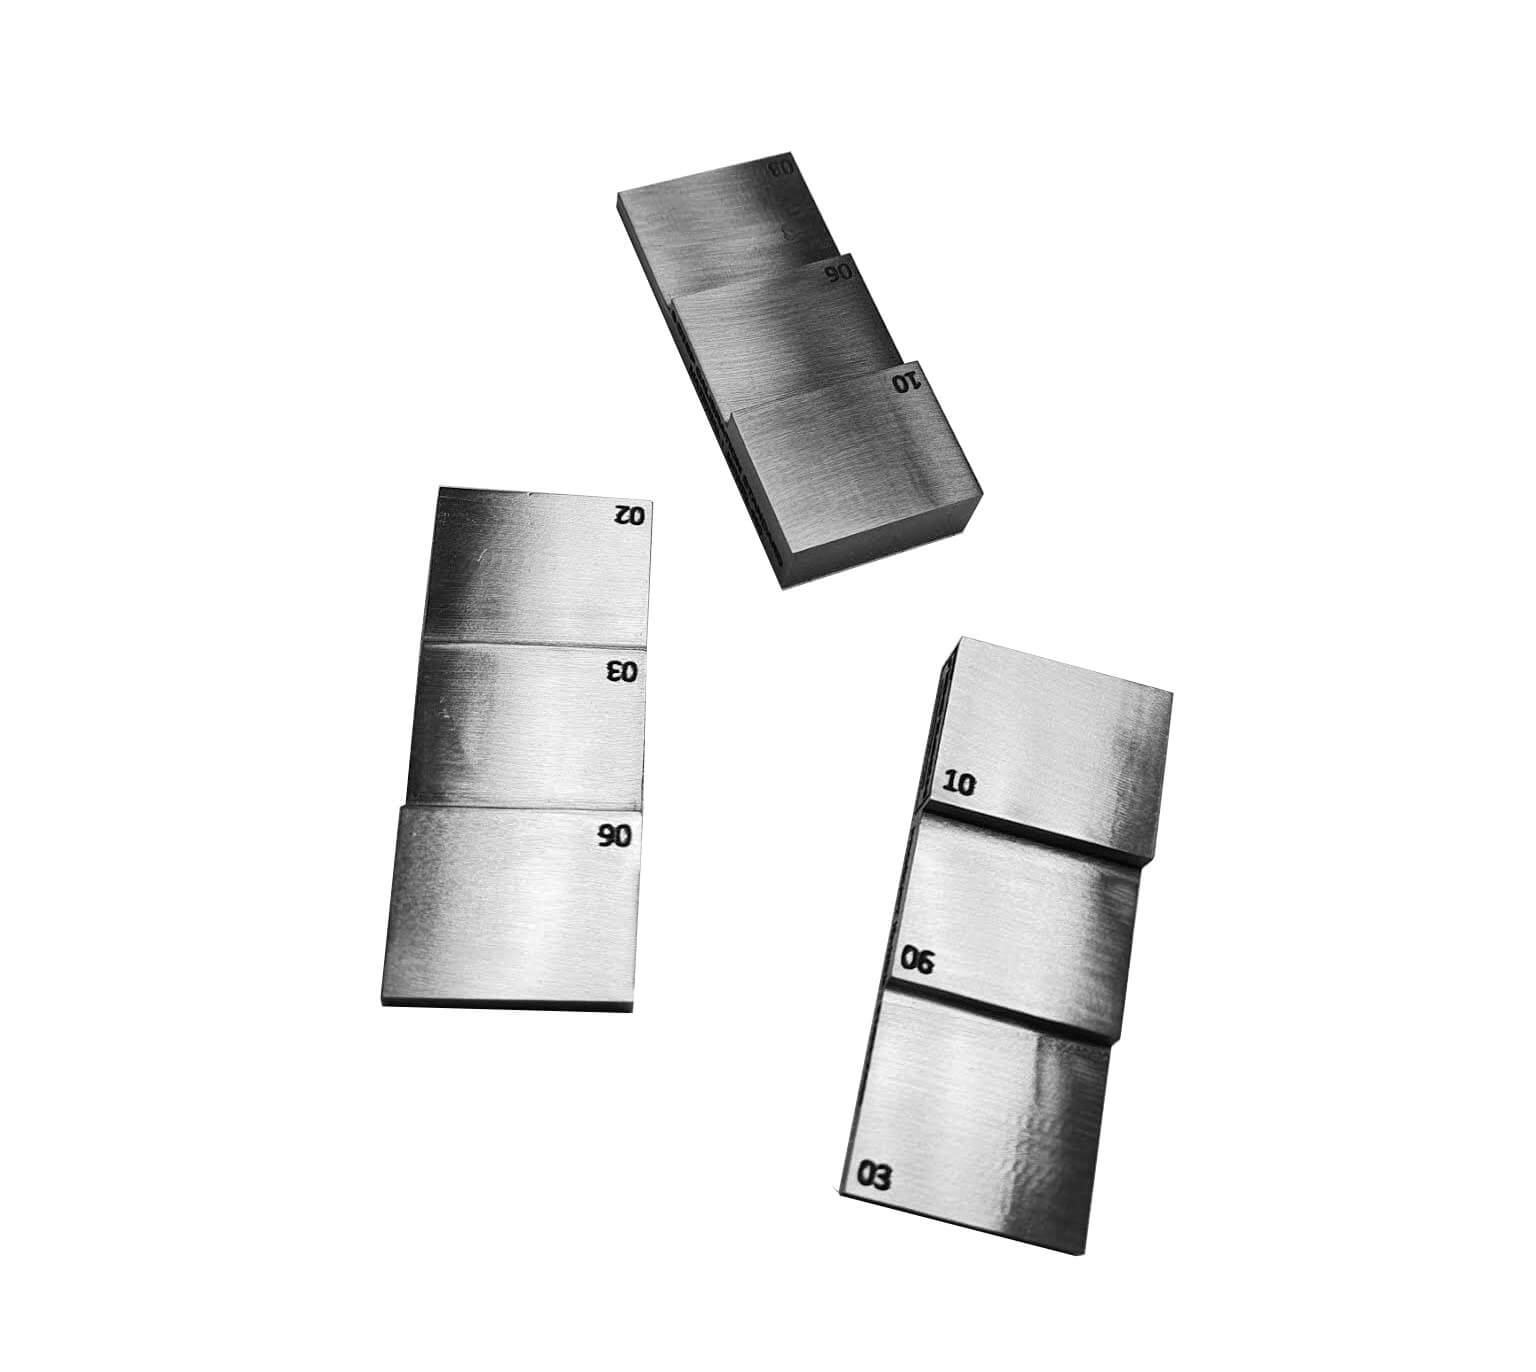
3 STEP (0.4mm – 2.0mm) THIN WEDGE BLOCK (METRIC VERSION) ASME SA516 Gr70 Step calibration wedges come in a large variety of sizes and configurations. Step wedges are typically manufactured with four or five or steps but custom wedge can be obtained with any number of steps. 3 Step Calibration Block for thickness and linearity calibration 3 Step Calibration Block 0.4mm – 2.0mm with two EDM flaws. Includes Test Report Traceable to NIST and Certificate of Conformance. DIMENSIONS: 3 Step Calibration Block has steps starting at 0.4mm to 2.0mm in 0.4mm, 0.75mm and 2.0mm increments. 120mm (L) x 25mm (W) x 2.0mm (T). NOTCH SIZE : 1. 7.6mm (L) x 0.12mm (W) x 0.25mm (Deep) 2. 7.6mm (L) x 0.12mm (W) x 0.5mm (Deep) NOTE: Customized Step Block also available. METRIC STEP FACE: 40mm x 25mm. MATERIAL: ASME SA516 Gr70. NOTE: For special alloy request by mail.

3 STEP (0.4mm – 2.0mm) THIN WEDGE BLOCK (METRIC VERSION) ASME SA517
3 STEP (0.4mm – 2.0mm) THIN WEDGE BLOCK (METRIC VERSION) ASME SA517 Step calibration wedges come in a large variety of sizes and configurations. Step wedges are typically manufactured with four or five or steps but custom wedge can be obtained with any number of steps. 3 Step Calibration Block for thickness and linearity calibration 3 Step Calibration Block 0.4mm – 2.0mm with two EDM flaws. Includes Test Report Traceable to NIST and Certificate of Conformance. DIMENSIONS: 3 Step Calibration Block has steps starting at 0.4mm to 2.0mm in 0.4mm, 0.75mm and 2.0mm increments. 120mm (L) x 25mm (W) x 2.0mm (T). NOTCH SIZE : 1. 7.6mm (L) x 0.12mm (W) x 0.25mm (Deep) 2. 7.6mm (L) x 0.12mm (W) x 0.5mm (Deep) NOTE: Customized Step Block also available. METRIC STEP FACE: 40mm x 25mm. MATERIAL: ASME SA517. NOTE: For special alloy request by mail.

3 STEP (0.4mm – 2.0mm) THIN WEDGE BLOCK (METRIC VERSION) ASME SA36 / A36
3 STEP (0.4mm – 2.0mm) THIN WEDGE BLOCK (METRIC VERSION) ASME SA36 / A36 Step calibration wedges come in a large variety of sizes and configurations. Step wedges are typically manufactured with four or five or steps but custom wedge can be obtained with any number of steps. 3 Step Calibration Block for thickness and linearity calibration 3 Step Calibration Block 0.4mm – 2.0mm with two EDM flaws. Includes Test Report Traceable to NIST and Certificate of Conformance. DIMENSIONS: 3 Step Calibration Block has steps starting at 0.4mm to 2.0mm in 0.4mm, 0.75mm and 2.0mm increments. 120mm (L) x 25mm (W) x 2.0mm (T). NOTCH SIZE : 1. 7.6mm (L) x 0.12mm (W) x 0.25mm (Deep) 2. 7.6mm (L) x 0.12mm (W) x 0.5mm (Deep) NOTE: Customized Step Block also available. METRIC STEP FACE: 40mm x 25mm. MATERIAL: ASME SA36 / A36. NOTE: For special alloy request by mail.

3 STEP (0.4mm – 2.0mm) THIN WEDGE BLOCK (METRIC VERSION) STAINLESS STEEL 304
3 STEP (0.4mm – 2.0mm) THIN WEDGE BLOCK (METRIC VERSION) STAINLESS STEEL 304 Step calibration wedges come in a large variety of sizes and configurations. Step wedges are typically manufactured with four or five or steps but custom wedge can be obtained with any number of steps. 3 Step Calibration Block for thickness and linearity calibration 3 Step Calibration Block 0.4mm – 2.0mm with two EDM flaws. Includes Test Report Traceable to NIST and Certificate of Conformance. DIMENSIONS: 3 Step Calibration Block has steps starting at 0.4mm to 2.0mm in 0.4mm, 0.75mm and 2.0mm increments. 120mm (L) x 25mm (W) x 2.0mm (T). NOTCH SIZE : 1. 7.6mm (L) x 0.12mm (W) x 0.25mm (Deep) 2. 7.6mm (L) x 0.12mm (W) x 0.5mm (Deep) NOTE: Customized Step Block also available. METRIC STEP FACE: 40mm x 25mm. MATERIAL: STAINLESS STEEL 304. NOTE: For special alloy request by mail.

3 STEP (0.4mm – 2.0mm) THIN WEDGE BLOCK (METRIC VERSION) STAINLESS STEEL 316
3 STEP (0.4mm – 2.0mm) THIN WEDGE BLOCK (METRIC VERSION) STAINLESS STEEL 316 Step calibration wedges come in a large variety of sizes and configurations. Step wedges are typically manufactured with four or five or steps but custom wedge can be obtained with any number of steps. 3 Step Calibration Block for thickness and linearity calibration 3 Step Calibration Block 0.4mm – 2.0mm with two EDM flaws. Includes Test Report Traceable to NIST and Certificate of Conformance. DIMENSIONS: 3 Step Calibration Block has steps starting at 0.4mm to 2.0mm in 0.4mm, 0.75mm and 2.0mm increments. 120mm (L) x 25mm (W) x 2.0mm (T). NOTCH SIZE : 1. 7.6mm (L) x 0.12mm (W) x 0.25mm (Deep) 2. 7.6mm (L) x 0.12mm (W) x 0.5mm (Deep) NOTE: Customized Step Block also available. METRIC STEP FACE: 40mm x 25mm. MATERIAL: STAINLESS STEEL 316. NOTE: For special alloy request by mail.

3 STEP (0.4mm – 2.0mm) THIN WEDGE BLOCK (METRIC VERSION) TITANIUM
3 STEP (0.4mm – 2.0mm) THIN WEDGE BLOCK (METRIC VERSION) TITANIUM Step calibration wedges come in a large variety of sizes and configurations. Step wedges are typically manufactured with four or five or steps but custom wedge can be obtained with any number of steps. 3 Step Calibration Block for thickness and linearity calibration 3 Step Calibration Block 0.4mm – 2.0mm with two EDM flaws. Includes Test Report Traceable to NIST and Certificate of Conformance. DIMENSIONS: 3 Step Calibration Block has steps starting at 0.4mm to 2.0mm in 0.4mm, 0.75mm and 2.0mm increments. 120mm (L) x 25mm (W) x 2.0mm (T). NOTCH SIZE : 1. 7.6mm (L) x 0.12mm (W) x 0.25mm (Deep) 2. 7.6mm (L) x 0.12mm (W) x 0.5mm (Deep) NOTE: Customized Step Block also available. METRIC STEP FACE: 40mm x 25mm. MATERIAL: TITANIUM. NOTE: For special alloy request by mail.

3 STEP (0.4mm – 2.0mm) THIN WEDGE BLOCK (METRIC VERSION) ALUMINUM
3 STEP (0.4mm – 2.0mm) THIN WEDGE BLOCK (METRIC VERSION) ALUMINUM Step calibration wedges come in a large variety of sizes and configurations. Step wedges are typically manufactured with four or five or steps but custom wedge can be obtained with any number of steps. 3 Step Calibration Block for thickness and linearity calibration 3 Step Calibration Block 0.4mm – 2.0mm with two EDM flaws. Includes Test Report Traceable to NIST and Certificate of Conformance. DIMENSIONS: 3 Step Calibration Block has steps starting at 0.4mm to 2.0mm in 0.4mm, 0.75mm and 2.0mm increments. 120mm (L) x 25mm (W) x 2.0mm (T). NOTCH SIZE : 1. 7.6mm (L) x 0.12mm (W) x 0.25mm (Deep) 2. 7.6mm (L) x 0.12mm (W) x 0.5mm (Deep) NOTE: Customized Step Block also available. METRIC STEP FACE: 40mm x 25mm. MATERIAL: ALUMINUM. NOTE: For special alloy request by mail.

3 STEP (0.4mm – 2.0mm) THIN WEDGE BLOCK (METRIC VERSION) COPPER
3 STEP (0.4mm – 2.0mm) THIN WEDGE BLOCK (METRIC VERSION) COPPER Step calibration wedges come in a large variety of sizes and configurations. Step wedges are typically manufactured with four or five or steps but custom wedge can be obtained with any number of steps. 3 Step Calibration Block for thickness and linearity calibration 3 Step Calibration Block 0.4mm – 2.0mm with two EDM flaws. Includes Test Report Traceable to NIST and Certificate of Conformance. DIMENSIONS: 3 Step Calibration Block has steps starting at 0.4mm to 2.0mm in 0.4mm, 0.75mm and 2.0mm increments. 120mm (L) x 25mm (W) x 2.0mm (T). NOTCH SIZE : 1. 7.6mm (L) x 0.12mm (W) x 0.25mm (Deep) 2. 7.6mm (L) x 0.12mm (W) x 0.5mm (Deep) NOTE: Customized Step Block also available. METRIC STEP FACE: 40mm x 25mm. MATERIAL: COPPER. NOTE: For special alloy request by mail.

3 STEP (0.4mm – 2.0mm) THIN WEDGE BLOCK (METRIC VERSION) INCONEL 625
3 STEP (0.4mm – 2.0mm) THIN WEDGE BLOCK (METRIC VERSION) INCONEL 625 Step calibration wedges come in a large variety of sizes and configurations. Step wedges are typically manufactured with four or five or steps but custom wedge can be obtained with any number of steps. 3 Step Calibration Block for thickness and linearity calibration 3 Step Calibration Block 0.4mm – 2.0mm with two EDM flaws. Includes Test Report Traceable to NIST and Certificate of Conformance. DIMENSIONS: 3 Step Calibration Block has steps starting at 0.4mm to 2.0mm in 0.4mm, 0.75mm and 2.0mm increments. 120mm (L) x 25mm (W) x 2.0mm (T). NOTCH SIZE : 1. 7.6mm (L) x 0.12mm (W) x 0.25mm (Deep) 2. 7.6mm (L) x 0.12mm (W) x 0.5mm (Deep) NOTE: Customized Step Block also available. METRIC STEP FACE: 40mm x 25mm. MATERIAL: INCONEL 625. NOTE: For special alloy request by mail.

3 STEP (0.4mm – 2.0mm) THIN WEDGE BLOCK (METRIC VERSION) INCONEL 825
3 STEP (0.4mm – 2.0mm) THIN WEDGE BLOCK (METRIC VERSION) INCONEL 825 Step calibration wedges come in a large variety of sizes and configurations. Step wedges are typically manufactured with four or five or steps but custom wedge can be obtained with any number of steps. 3 Step Calibration Block for thickness and linearity calibration 3 Step Calibration Block 0.4mm – 2.0mm with two EDM flaws. Includes Test Report Traceable to NIST and Certificate of Conformance. DIMENSIONS: 3 Step Calibration Block has steps starting at 0.4mm to 2.0mm in 0.4mm, 0.75mm and 2.0mm increments. 120mm (L) x 25mm (W) x 2.0mm (T). NOTCH SIZE : 1. 7.6mm (L) x 0.12mm (W) x 0.25mm (Deep) 2. 7.6mm (L) x 0.12mm (W) x 0.5mm (Deep) NOTE: Customized Step Block also available. METRIC STEP FACE: 40mm x 25mm. MATERIAL: INCONEL 825. NOTE: For special alloy request by mail.

3 STEP (0.4mm – 2.0mm) THIN WEDGE BLOCK (METRIC VERSION) MONAL 800
3 STEP (0.4mm – 2.0mm) THIN WEDGE BLOCK (METRIC VERSION) MONAL 800 Step calibration wedges come in a large variety of sizes and configurations. Step wedges are typically manufactured with four or five or steps but custom wedge can be obtained with any number of steps. 3 Step Calibration Block for thickness and linearity calibration 3 Step Calibration Block 0.4mm – 2.0mm with two EDM flaws. Includes Test Report Traceable to NIST and Certificate of Conformance. DIMENSIONS: 3 Step Calibration Block has steps starting at 0.4mm to 2.0mm in 0.4mm, 0.75mm and 2.0mm increments. 120mm (L) x 25mm (W) x 2.0mm (T). NOTCH SIZE : 1. 7.6mm (L) x 0.12mm (W) x 0.25mm (Deep) 2. 7.6mm (L) x 0.12mm (W) x 0.5mm (Deep) NOTE: Customized Step Block also available. METRIC STEP FACE: 40mm x 25mm. MATERIAL: MONAL 800. NOTE: For special alloy request by mail.

3 STEP (0.4mm – 2.0mm) THIN WEDGE BLOCK (METRIC VERSION) MAGNESIUM
3 STEP (0.4mm – 2.0mm) THIN WEDGE BLOCK (METRIC VERSION) MAGNESIUM Step calibration wedges come in a large variety of sizes and configurations. Step wedges are typically manufactured with four or five or steps but custom wedge can be obtained with any number of steps. 3 Step Calibration Block for thickness and linearity calibration 3 Step Calibration Block 0.4mm – 2.0mm with two EDM flaws. Includes Test Report Traceable to NIST and Certificate of Conformance. DIMENSIONS: 3 Step Calibration Block has steps starting at 0.4mm to 2.0mm in 0.4mm, 0.75mm and 2.0mm increments. 120mm (L) x 25mm (W) x 2.0mm (T). NOTCH SIZE : 1. 7.6mm (L) x 0.12mm (W) x 0.25mm (Deep) 2. 7.6mm (L) x 0.12mm (W) x 0.5mm (Deep) NOTE: Customized Step Block also available. METRIC STEP FACE: 40mm x 25mm. MATERIAL: MAGNESIUM. NOTE: For special alloy request by mail.

3 STEP (0.4mm – 2.0mm) THIN WEDGE BLOCK (METRIC VERSION) NICKEL
3 STEP (0.4mm – 2.0mm) THIN WEDGE BLOCK (METRIC VERSION) NICKEL Step calibration wedges come in a large variety of sizes and configurations. Step wedges are typically manufactured with four or five or steps but custom wedge can be obtained with any number of steps. 3 Step Calibration Block for thickness and linearity calibration 3 Step Calibration Block 0.4mm – 2.0mm with two EDM flaws. Includes Test Report Traceable to NIST and Certificate of Conformance. DIMENSIONS: 3 Step Calibration Block has steps starting at 0.4mm to 2.0mm in 0.4mm, 0.75mm and 2.0mm increments. 120mm (L) x 25mm (W) x 2.0mm (T). NOTCH SIZE : 1. 7.6mm (L) x 0.12mm (W) x 0.25mm (Deep) 2. 7.6mm (L) x 0.12mm (W) x 0.5mm (Deep) NOTE: Customized Step Block also available. METRIC STEP FACE: 40mm x 25mm. MATERIAL: NICKEL. NOTE: For special alloy request by mail.

