IOW Calibration Block (Metric Version) Special Alloy
IOW Calibration Block (Metric Version) Special Alloy Used for beam profile measurement of angle beam transducers and measurement of transducer angles. Block used for calibrates resolution check for angle beam transducer, also used for angle beam plotting, to plot beam divergence for shear wave transducer. Analysis of amplitude with respect to exit point is carried out for each angle using data points from depths corresponding to side drilled holes in an IOW block. Graphed and tabulated results are analyzed for trends. This modeling analysis is then compared to actual lab results for refracted angle determination. Geometry: Contains nine 1.5mm diameter x 22mm deep side drilled holes. Dimensions: 305mm (L) x 75mm(H) x 50mm (W). Material: Special Alloy

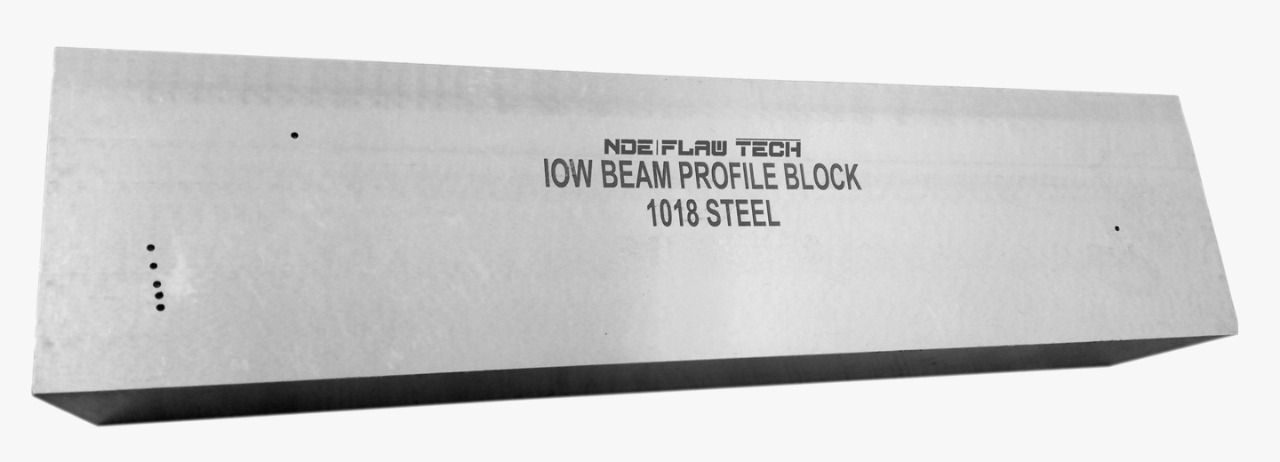
IOW Calibration Block (Metric Version) 1018 Steel
IOW Calibration Block (Metric Version) 1018 Steel Used for beam profile measurement of angle beam transducers and measurement of transducer angles. Block used for calibrates resolution check for angle beam transducer, also used for angle beam plotting, to plot beam divergence for shear wave transducer. Analysis of amplitude with respect to exit point is carried out for each angle using data points from depths corresponding to side drilled holes in an IOW block. Graphed and tabulated results are analyzed for trends. This modeling analysis is then compared to actual lab results for refracted angle determination. Geometry: Contains nine 1.5mm diameter x 22mm deep side drilled holes. Dimensions: 305mm (L) x 75mm(H) x 50mm (W). Material: 1018 Steel

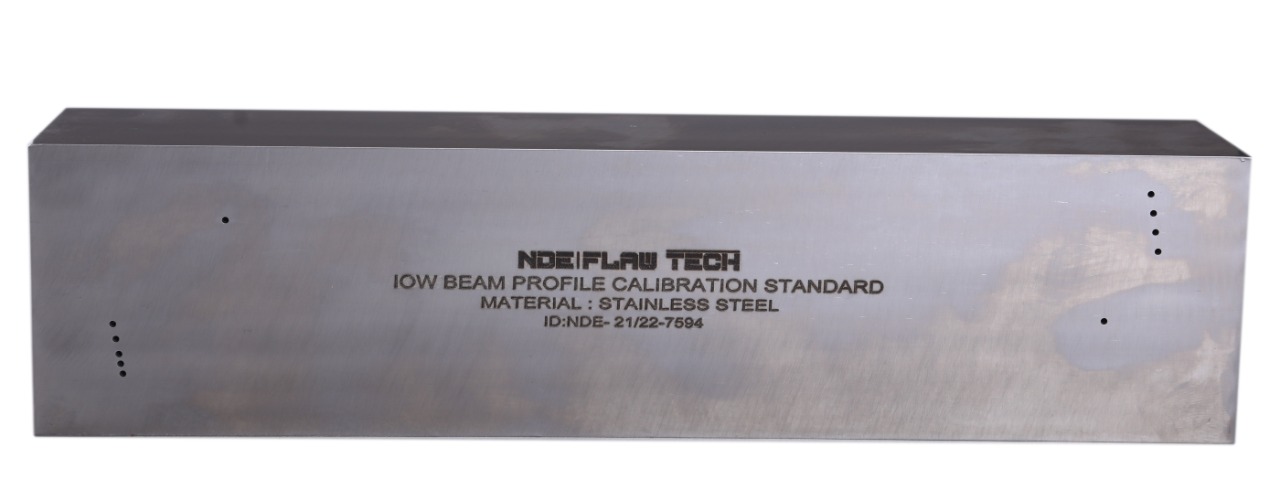
IOW Calibration Block (Metric Version) STAINLESS STEEL 304
IOW Calibration Block (Metric Version) STAINLESS STEEL 304 Used for beam profile measurement of angle beam transducers and measurement of transducer angles. Block used for calibrates resolution check for angle beam transducer, also used for angle beam plotting, to plot beam divergence for shear wave transducer. Analysis of amplitude with respect to exit point is carried out for each angle using data points from depths corresponding to side drilled holes in an IOW block. Graphed and tabulated results are analyzed for trends. This modeling analysis is then compared to actual lab results for refracted angle determination. Geometry: Contains nine 1.5mm diameter x 22mm deep side drilled holes. Dimensions: 305mm (L) x 75mm(H) x 50mm (W). Material: STAINLESS STEEL 304.

IOW Calibration Block (Metric Version) STAINLESS STEEL 316
IOW Calibration Block (Metric Version) STAINLESS STEEL 316 Used for beam profile measurement of angle beam transducers and measurement of transducer angles. Block used for calibrates resolution check for angle beam transducer, also used for angle beam plotting, to plot beam divergence for shear wave transducer. Analysis of amplitude with respect to exit point is carried out for each angle using data points from depths corresponding to side drilled holes in an IOW block. Graphed and tabulated results are analyzed for trends. This modeling analysis is then compared to actual lab results for refracted angle determination. Geometry: Contains nine 1.5mm diameter x 22mm deep side drilled holes. Dimensions: 305mm (L) x 75mm(H) x 50mm (W). Material: STAINLESS STEEL 316.

IOW Calibration Block (Metric Version) TITANIUM
IOW Calibration Block (Metric Version) TITANIUM Used for beam profile measurement of angle beam transducers and measurement of transducer angles. Block used for calibrates resolution check for angle beam transducer, also used for angle beam plotting, to plot beam divergence for shear wave transducer. Analysis of amplitude with respect to exit point is carried out for each angle using data points from depths corresponding to side drilled holes in an IOW block. Graphed and tabulated results are analyzed for trends. This modeling analysis is then compared to actual lab results for refracted angle determination. Geometry: Contains nine 1.5mm diameter x 22mm deep side drilled holes. Dimensions: 305mm (L) x 75mm(H) x 50mm (W). Material: TITANIUM.

IOW Calibration Block (Metric Version) ALUMINUM 7075-T6
IOW Calibration Block (Metric Version) ALUMINUM 7075-T6 Used for beam profile measurement of angle beam transducers and measurement of transducer angles. Block used for calibrates resolution check for angle beam transducer, also used for angle beam plotting, to plot beam divergence for shear wave transducer. Analysis of amplitude with respect to exit point is carried out for each angle using data points from depths corresponding to side drilled holes in an IOW block. Graphed and tabulated results are analyzed for trends. This modeling analysis is then compared to actual lab results for refracted angle determination. Geometry: Contains nine 1.5mm diameter x 22mm deep side drilled holes. Dimensions: 305mm (L) x 75mm(H) x 50mm (W). Material: ALUMINUM 7075-T6.

IOW Calibration Block (Metric Version) INCONEL 625
IOW Calibration Block (Metric Version) INCONEL 625 Used for beam profile measurement of angle beam transducers and measurement of transducer angles. Block used for calibrates resolution check for angle beam transducer, also used for angle beam plotting, to plot beam divergence for shear wave transducer. Analysis of amplitude with respect to exit point is carried out for each angle using data points from depths corresponding to side drilled holes in an IOW block. Graphed and tabulated results are analyzed for trends. This modeling analysis is then compared to actual lab results for refracted angle determination. Geometry: Contains nine 1.5mm diameter x 22mm deep side drilled holes. Dimensions: 305mm (L) x 75mm(H) x 50mm (W). Material: INCONEL 625.

IOW Calibration Block (Metric Version) MONAL 800
IOW Calibration Block (Metric Version) MONAL 800 Used for beam profile measurement of angle beam transducers and measurement of transducer angles. Block used for calibrates resolution check for angle beam transducer, also used for angle beam plotting, to plot beam divergence for shear wave transducer. Analysis of amplitude with respect to exit point is carried out for each angle using data points from depths corresponding to side drilled holes in an IOW block. Graphed and tabulated results are analyzed for trends. This modeling analysis is then compared to actual lab results for refracted angle determination. Geometry: Contains nine 1.5mm diameter x 22mm deep side drilled holes. Dimensions: 305mm (L) x 75mm(H) x 50mm (W). Material: MONAL 800.

