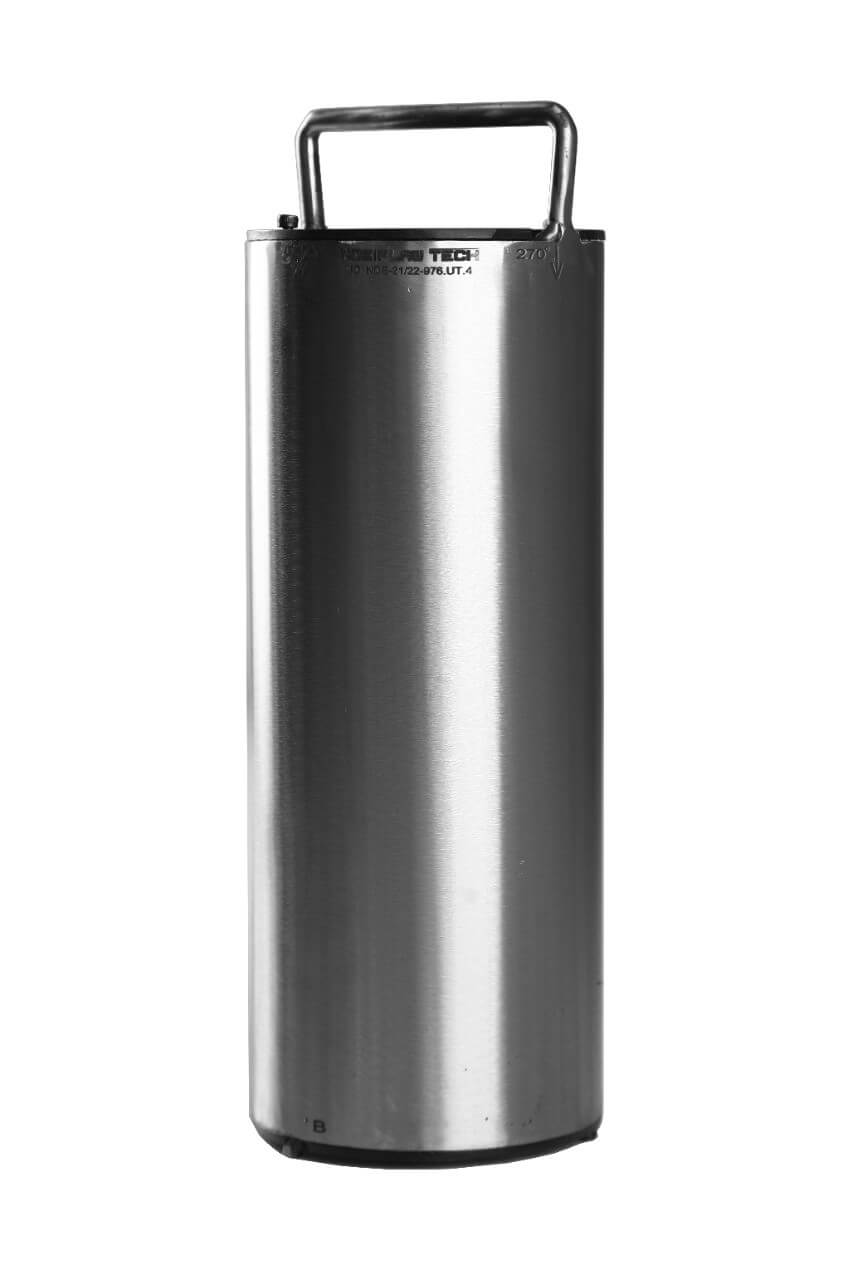
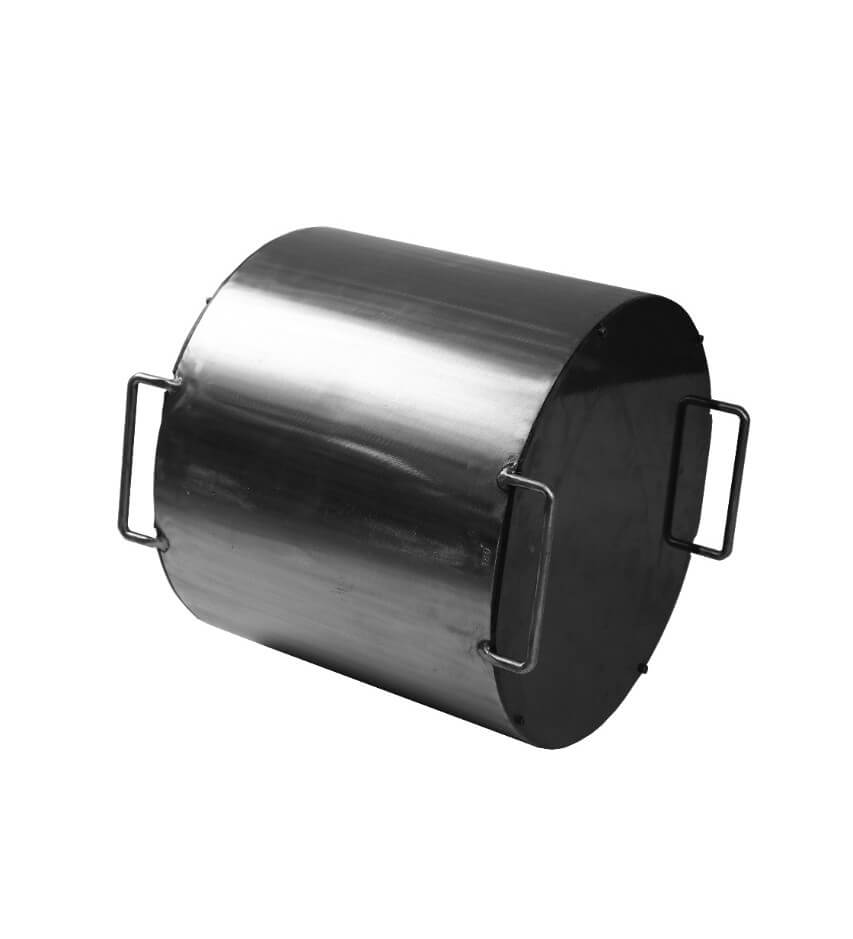
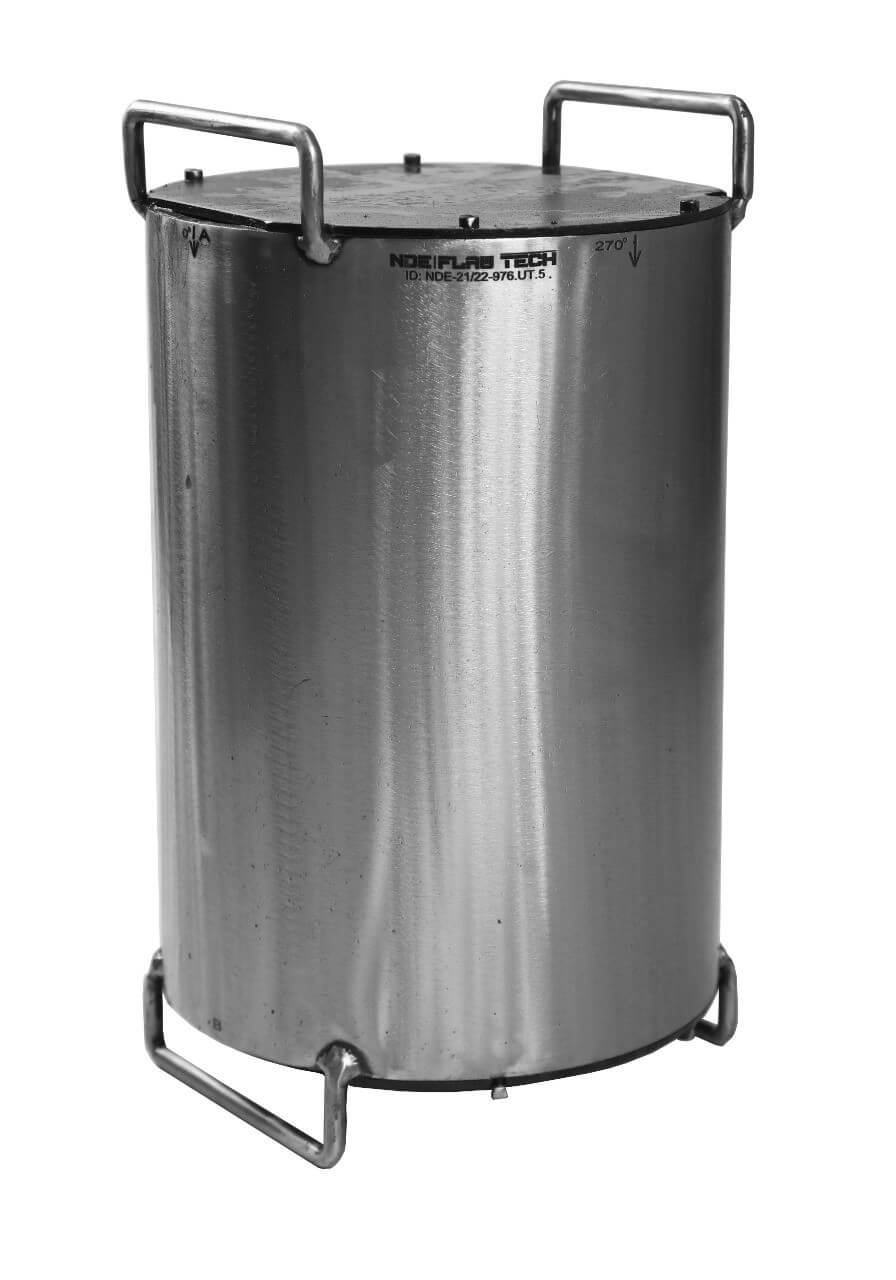
.jpg)
API CORROSION/EROSION 4” Pipe (Inch Version)
API CORROSION/EROSION 4” Pipe (Inch Version) Material: Carbon Steel pipe, • 4” OD with variable schedules at Sch10 (0.156”), Sch80 (0.337”) and Sch160 (0.531”) • The pipe is a cut 180° segment with 12” axial length. • The ID has 3 machined steps; 0.156”, 0.337” and 0.531”, each step is 4” in axial length. Specifications: • Each wall thickness/step will contain 1 or 2 ID surface indications. • The indications include: • Corrosion • Random Pitting • Erosion • The indication depths will vary depending on the pipe wall thickness. • Typical depths range from 25%, 50% and 75% through wall. • The overall size of the surface indication will vary as to the depth of the indication. • The indication depth will be stated at the deepest point of each indication. Pitting indications will be based on the deepest pit. Final Documentation: • Includes C of C, “As Built” CAD and Measuring & Test Equipment Certificate • “As Built” CAD will show a general description of the flaws surface area.

API CORROSION/EROSION 6” Pipe (Inch Version)
API CORROSION/EROSION 6” Pipe (Inch Version) Material: Carbon Steel pipe • 6” OD with variable schedules at Sch STD (0.28”), Sch80 (0.432”) and Sch120 (0.562”) • The pipe is a cut 180° segment with 12” arc length. • The ID has 3 machined steps; 0.28”, 0.432” and 0.562”, each step is 4” in axial length. Specifications: • Each wall thickness/step will contain 1 or 2 ID surface indications. • The indications include: • Corrosion • Random Pitting • Erosion • The indication depths will vary depending on the pipe wall thickness. • Typical depths range from 25%, 50% and 75% through wall. • The overall size of the surface indication will vary as to the depth of the indication. • The indication depth will be stated at the deepest point of each indication. Pitting indications will be based on the deepest pit. Final Documentation: • Includes C of C, “As Built” CAD and Measuring & Test Equipment Certificates • “As Built” CAD will show a general description of the flaws surface area.

API CORROSION/EROSION 8” Pipe (Inch Version)
API CORROSION/EROSION 8” Pipe (Inch Version) Material: Carbon Steel pipe • 8” OD with variable schedules at Sch STD (0.322”), Sch80 (0.5”) and Sch120 (0.719”) • The pipe is a cut 180° segment with 12” arc length. • The ID has 3 machined steps; 0.322”, 0.5” and 0.719”, each step is 4” in axial length. Specifications: • Each wall thickness/step will contain 1 or 2 ID surface indications. • The indications include: • Corrosion • Random Pitting • Erosion • The indication depths will vary depending on the pipe wall thickness. • Typical depths range from 25%, 50% and 75% through wall. • The overall size of the surface indication will vary as to the depth of the indication. • The indication depth will be stated at the deepest point of each indication. Pitting indications will be based on the deepest pit. Final Documentation: • Includes C of C, “As Built” CAD and Measuring & Test Equipment Certificates • “As Built” CAD will show a general description of the flaws surface area.

API CORROSION/EROSION 12” Pipe (Inch Version)
API CORROSION/EROSION 12” Pipe (Inch Version) Material: Carbon Steel pipe • 12” OD with variable schedules at Sch STD (0.375”), Sch80 (0.688”) and Sch120 (1.0”) • The pipe is a cut 180° segment with 12” arc length. • The ID has 3 machined steps; 0.375”, 0.688” and 1.0”, each step is 4” in axial length. Specifications: • Each wall thickness/step will contain 1 or 2 ID surface indications. • The indications include: • Corrosion • Random Pitting • Erosion • The indication depths will vary depending on the pipe wall thickness. • Typical depths range from 25%, 50% and 75% through wall. • The overall size of the surface indication will vary as to the depth of the indication. • The indication depth will be stated at the deepest point of each indication. Pitting indications will be based on the deepest pit. Final Documentation: • Includes C of C, “As Built” CAD and Measuring & Test Equipment Certificates • “As Built” CAD will show a general description of the flaws surface area.

